|
Derek Fountain : MeArm Robot
Programmer, Writer, Consultant, Robot constructor
|


|
|
|
|
|
|
|
|
|
|
|
|
|
|
|||

|
|||

|
|||

|
|||

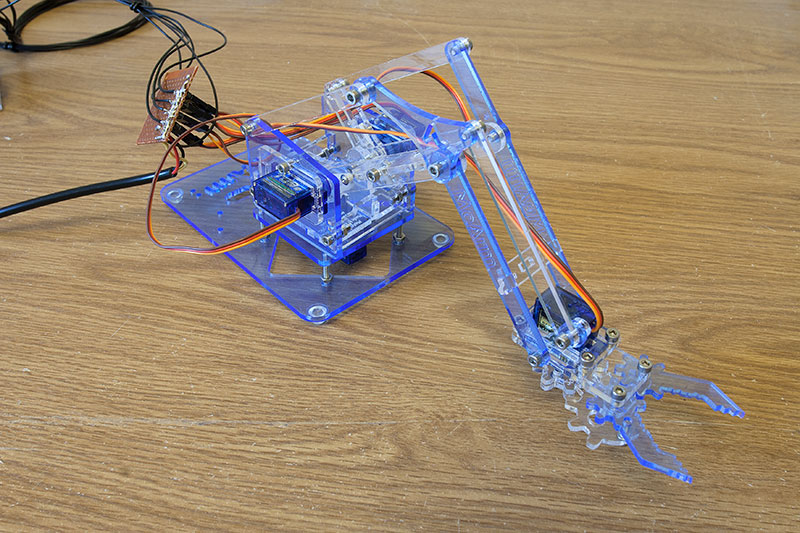
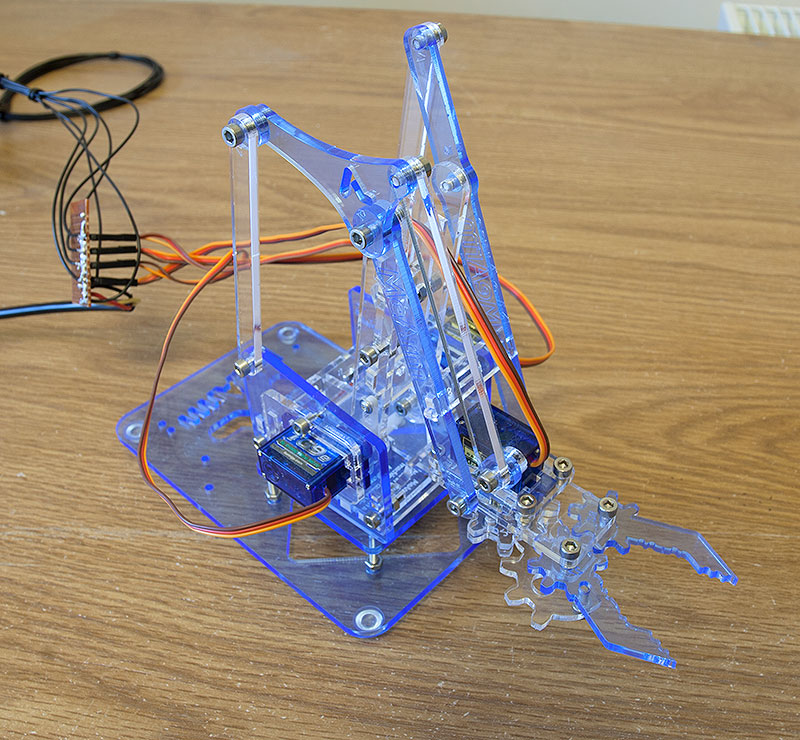
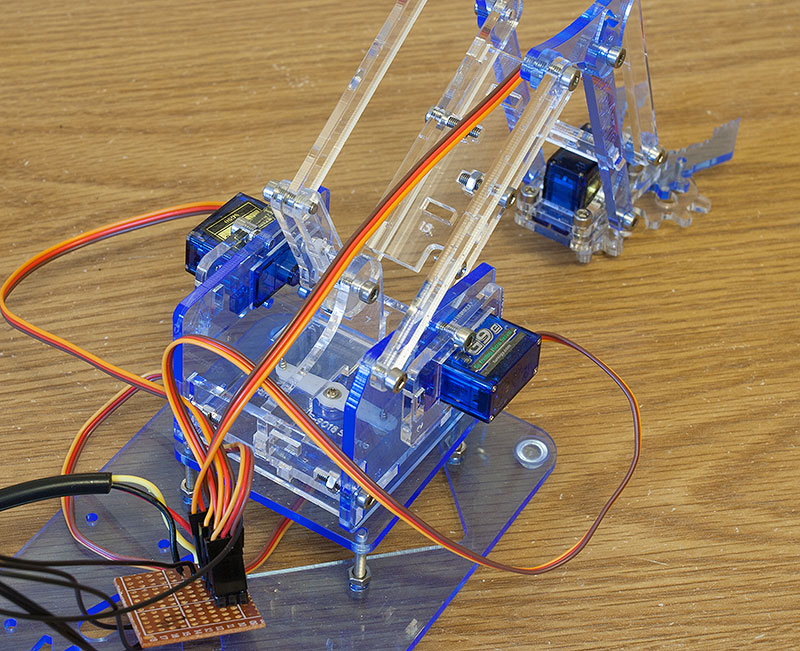
The MeArm robot arm is a little educational toy from Mime Industries. Tina got me one for Christmas. The basic kit is a collection of laser cut acrylic parts and a pile of little nuts and bolts of various sizes. Assembly requires the PDF of the instructions, 4 servos and lot of time. A lot of time. I must have stripped down and rebuilt this thing a dozen times, and each time takes an hour. Once it's done, it looks like this:
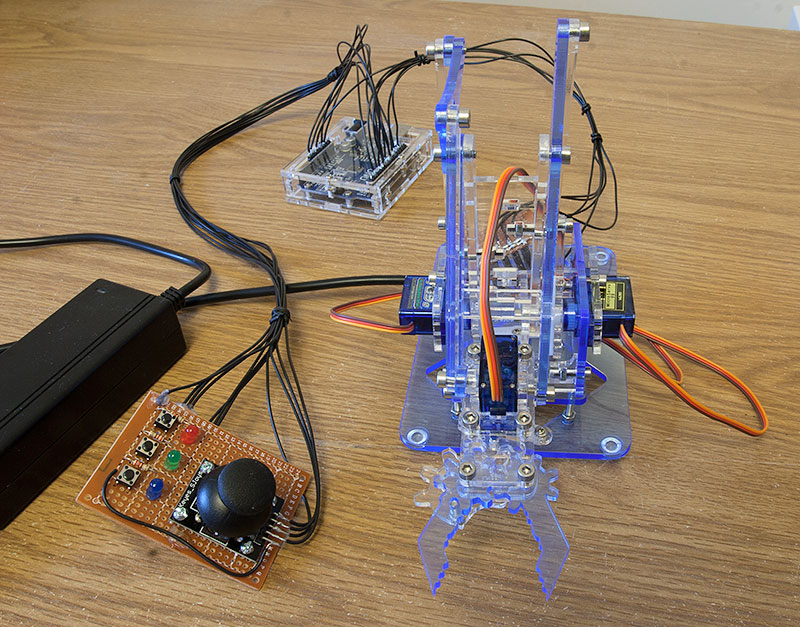
Building the arm is just part of the project, though. Once that's done you need a controller for it. You can buy one, plug it in, and watch it work, but where's the fun in that? I made mine with an Arduino and a collection of bits from my hobby shelf.
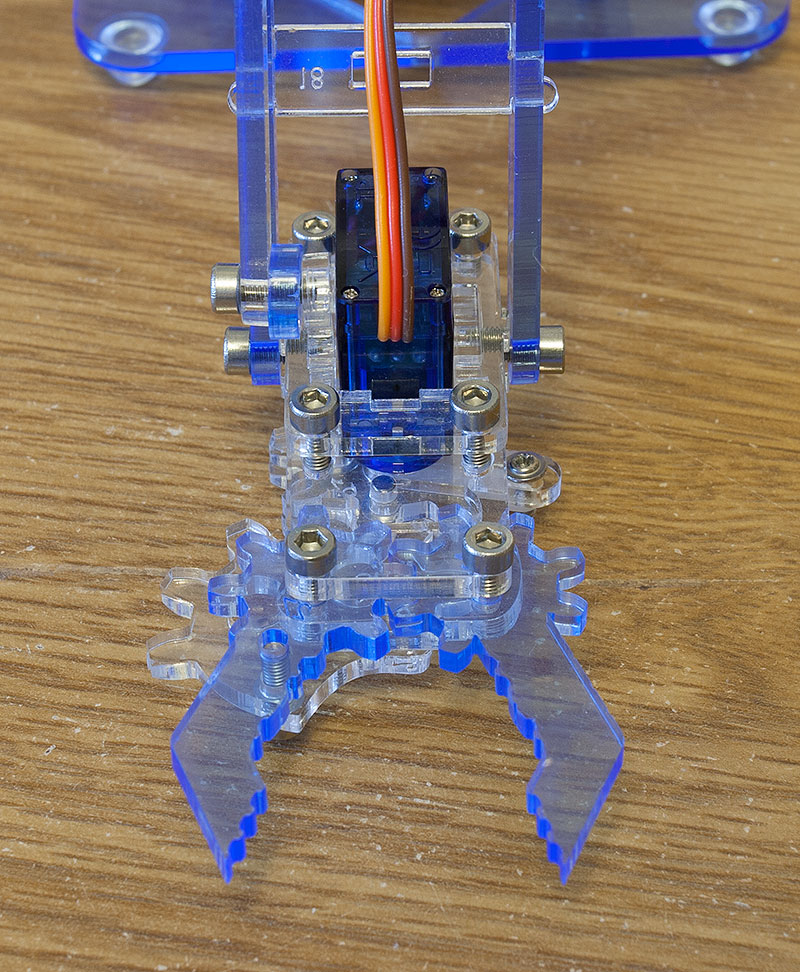
It's not immediately obvious how to create a controller for this thing. There are 4 servos. One swings the base around left and right, so that's easy. Another opens and closes the jaws, so that's also easy.
But the height and reach of the arm are controlled by the 2 side servos operating in unison.
So, how can I design a controller which operates all these things in an intuative manner using just the bits on my shelf? To be honest, I didn't come up with an intuative design. I came up with a simple one. :)

My controller has a PS3 joystick and a "selector" at the side. The left/right swing of the arm is permanently connected to the joystick's left and right operation. The joystick's forward and backward action controls one of the other servos, depending on which switch was last clicked.
Does it work? Yes! Is it any good? No! Frankly, the thing is a total pig to control. The two side axes really need to work together, not in isolation. I think a better design would be 2 joysticks, one doing the height, the other doing the reach, then a switch of some sort to control the base angle and the jaws. But things are a lot easier with hindsight, and besides, I didn't have 2 joysticks.
I'm a software engineer, so doing the hardware was a bit of a step outside my comfort zone. Here's a basic outline of how I wired it up.
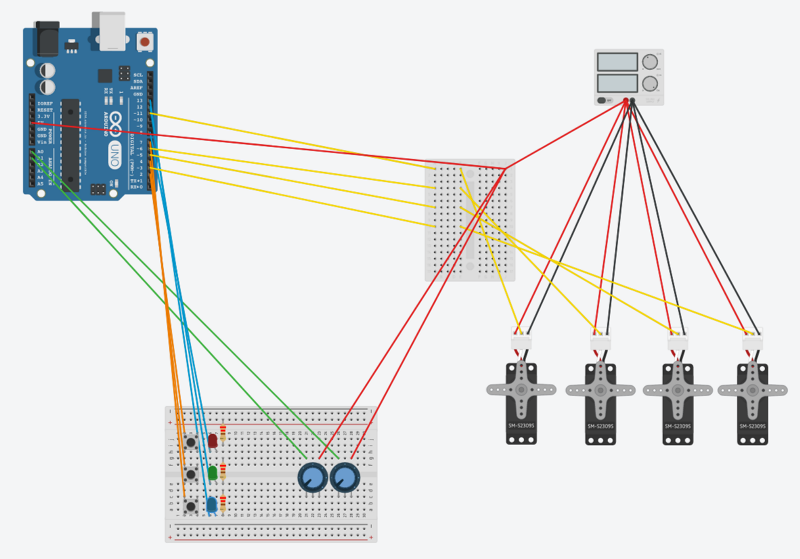
The power supply connects to the servos, Arduino and controller board via a small connector board (red wires). This extra baord was necessary because the wiring to the controller board was getting a bit heavy. The controller itself has 3 switches connected to digital inputs on the Arduino (orange wires), and 3 LEDs connected to digital outputs on the Arduino (blue wires). The software implements a simple latch to remember which button was pressed last and hence which LED to light up and which servo to drive when the joystick is moved. The joystick is two potentiometers connected to Arduino ADC inputs (green wires) and servos are actuated via the Arduino's PWM outputs (yellow wires).
Power comes from an old external hard disk power supply. The 4 servos need regulated 5v at 500mA each, and this power supply had a 2A 5v supply. How handy! I used its 12v output to drive the Arduino.
I don't claim to have done a brilliant job of this, but hey, it's my first attempt at anything robotic! It was a thoroughly enjoyable project and if anyone's thinking of getting one I'd recommend it.
Site and content Copyright 2005 Derek Fountain - All Rights Reserved